This is a quick tutorial on How to add a Matterport Scan to a WordPress Website. At Full House Web Marketing, we have been performing real estate photography for brokers, agents, and builders in Las Vegas for over 3 years.
A few years ago we began doing Matterport scans for our real estate photography customers and commercial properties.
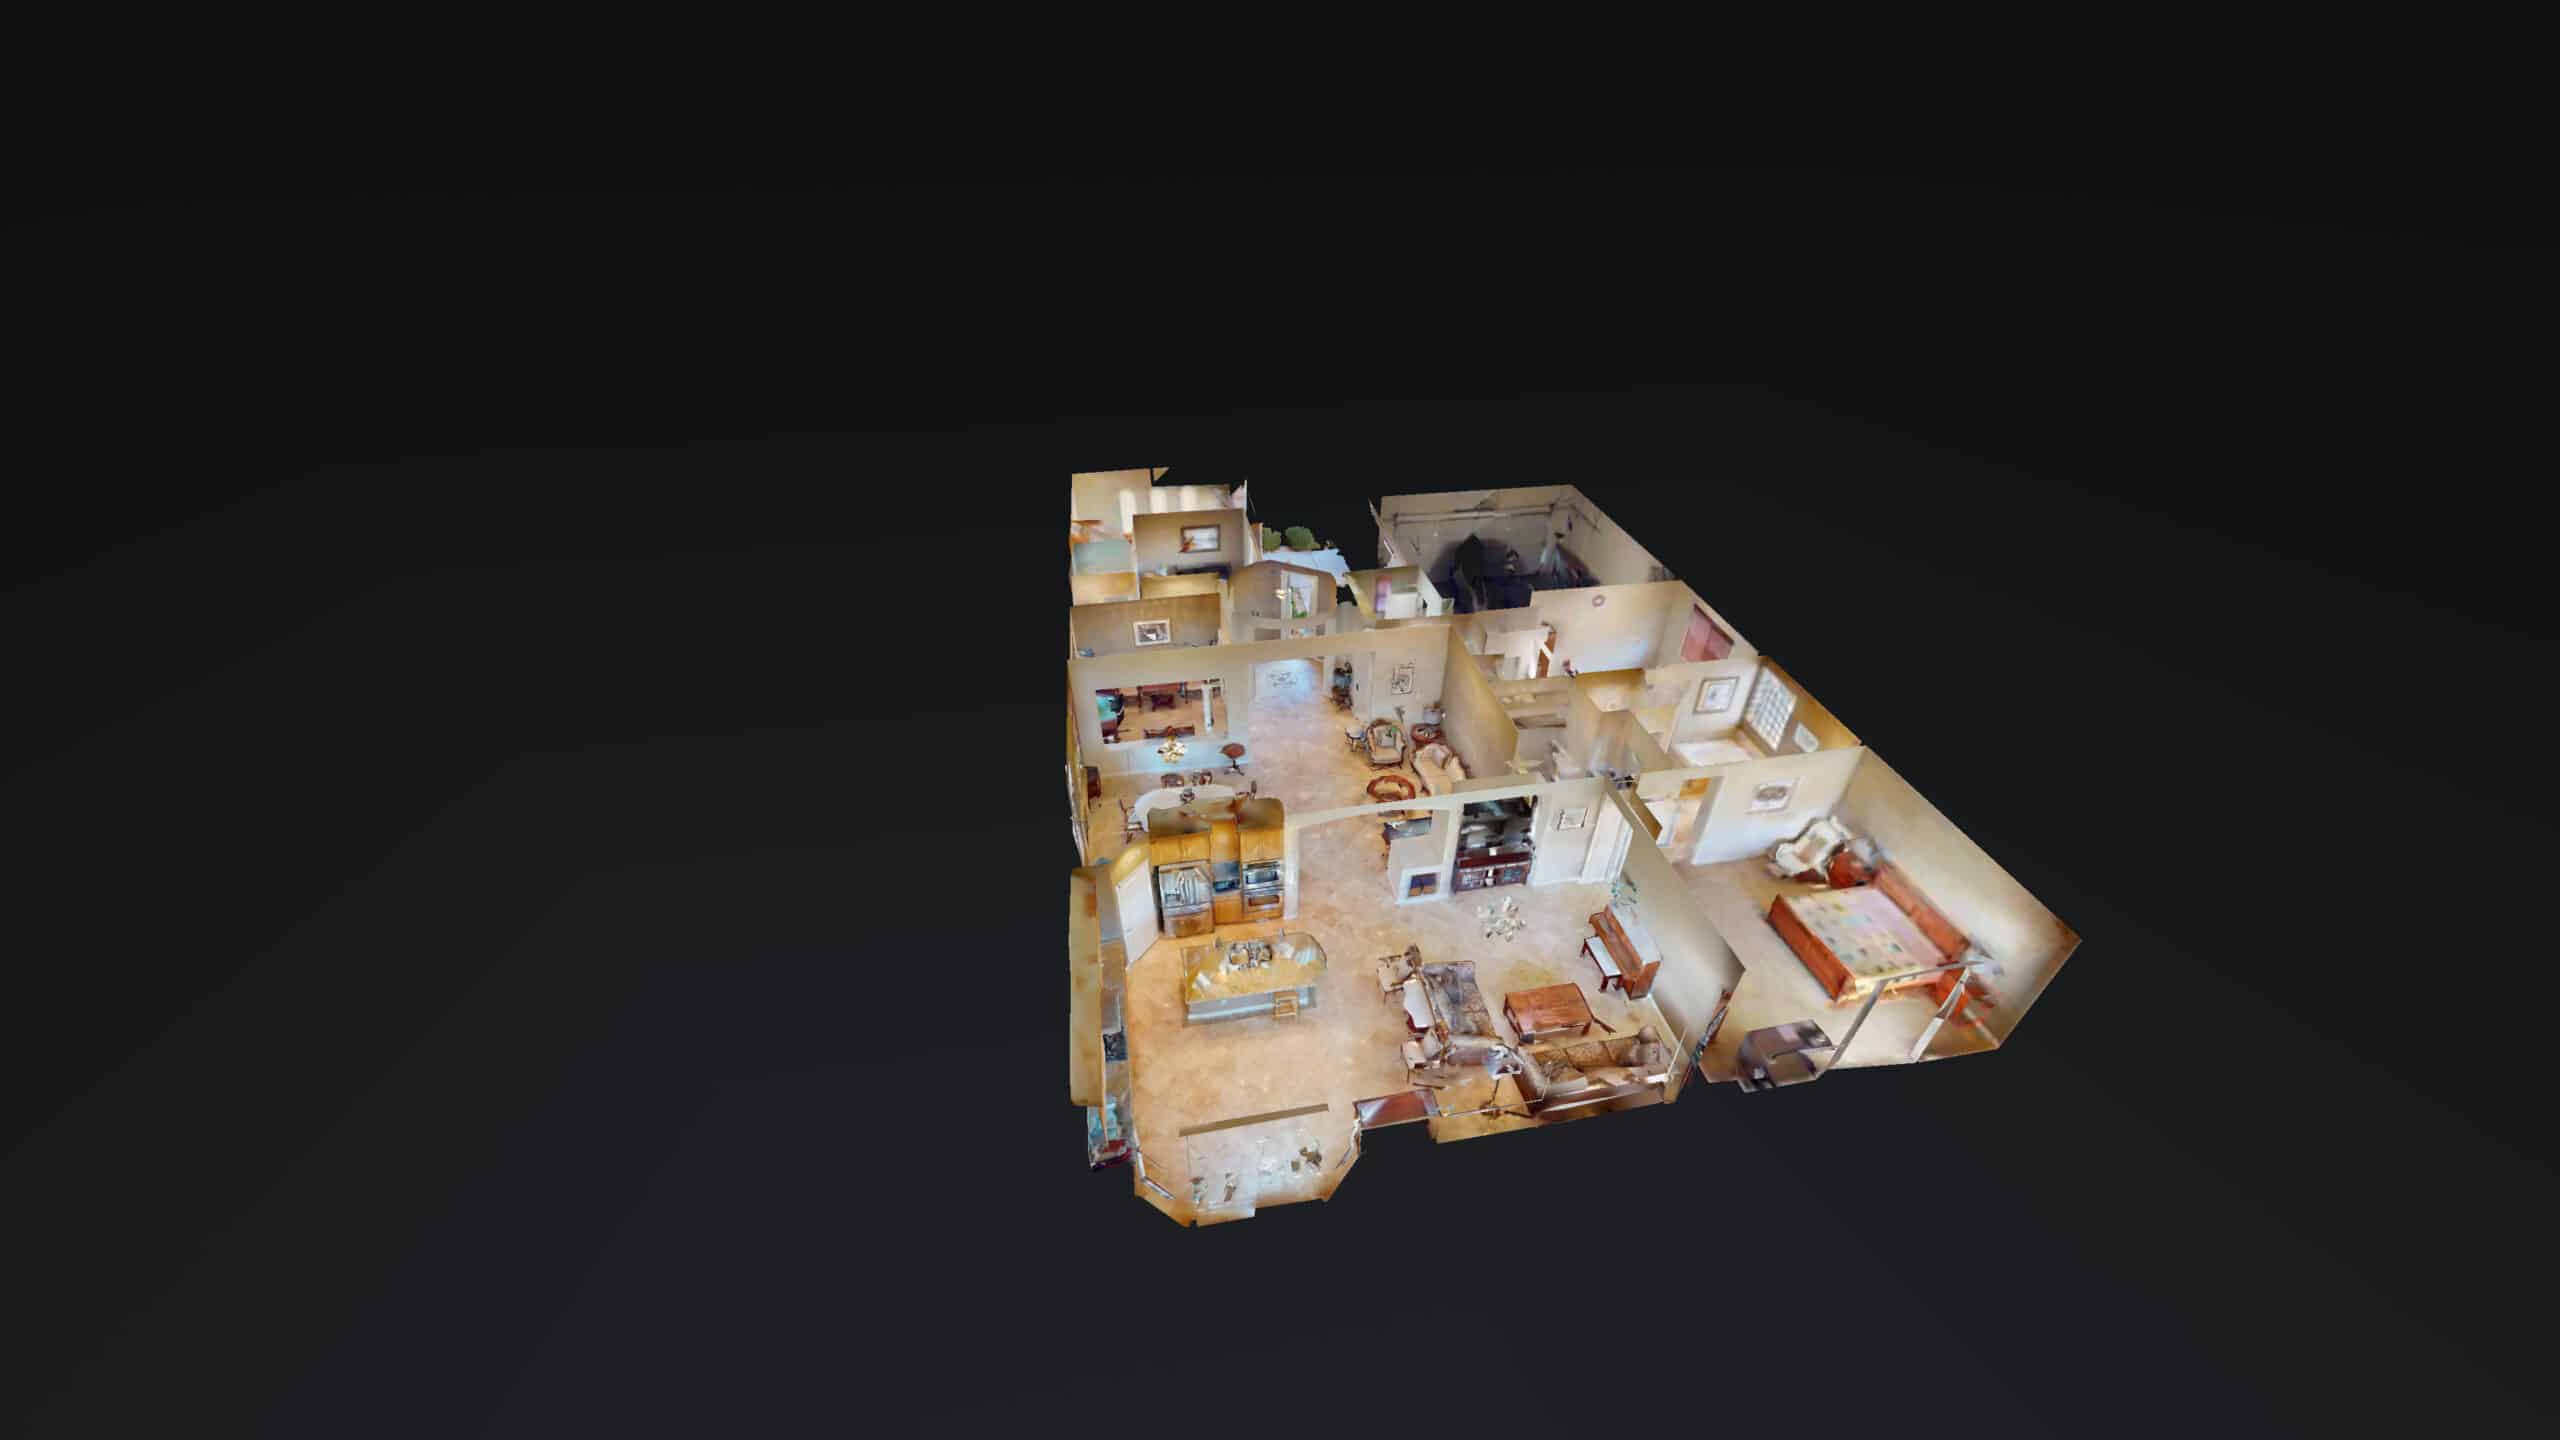
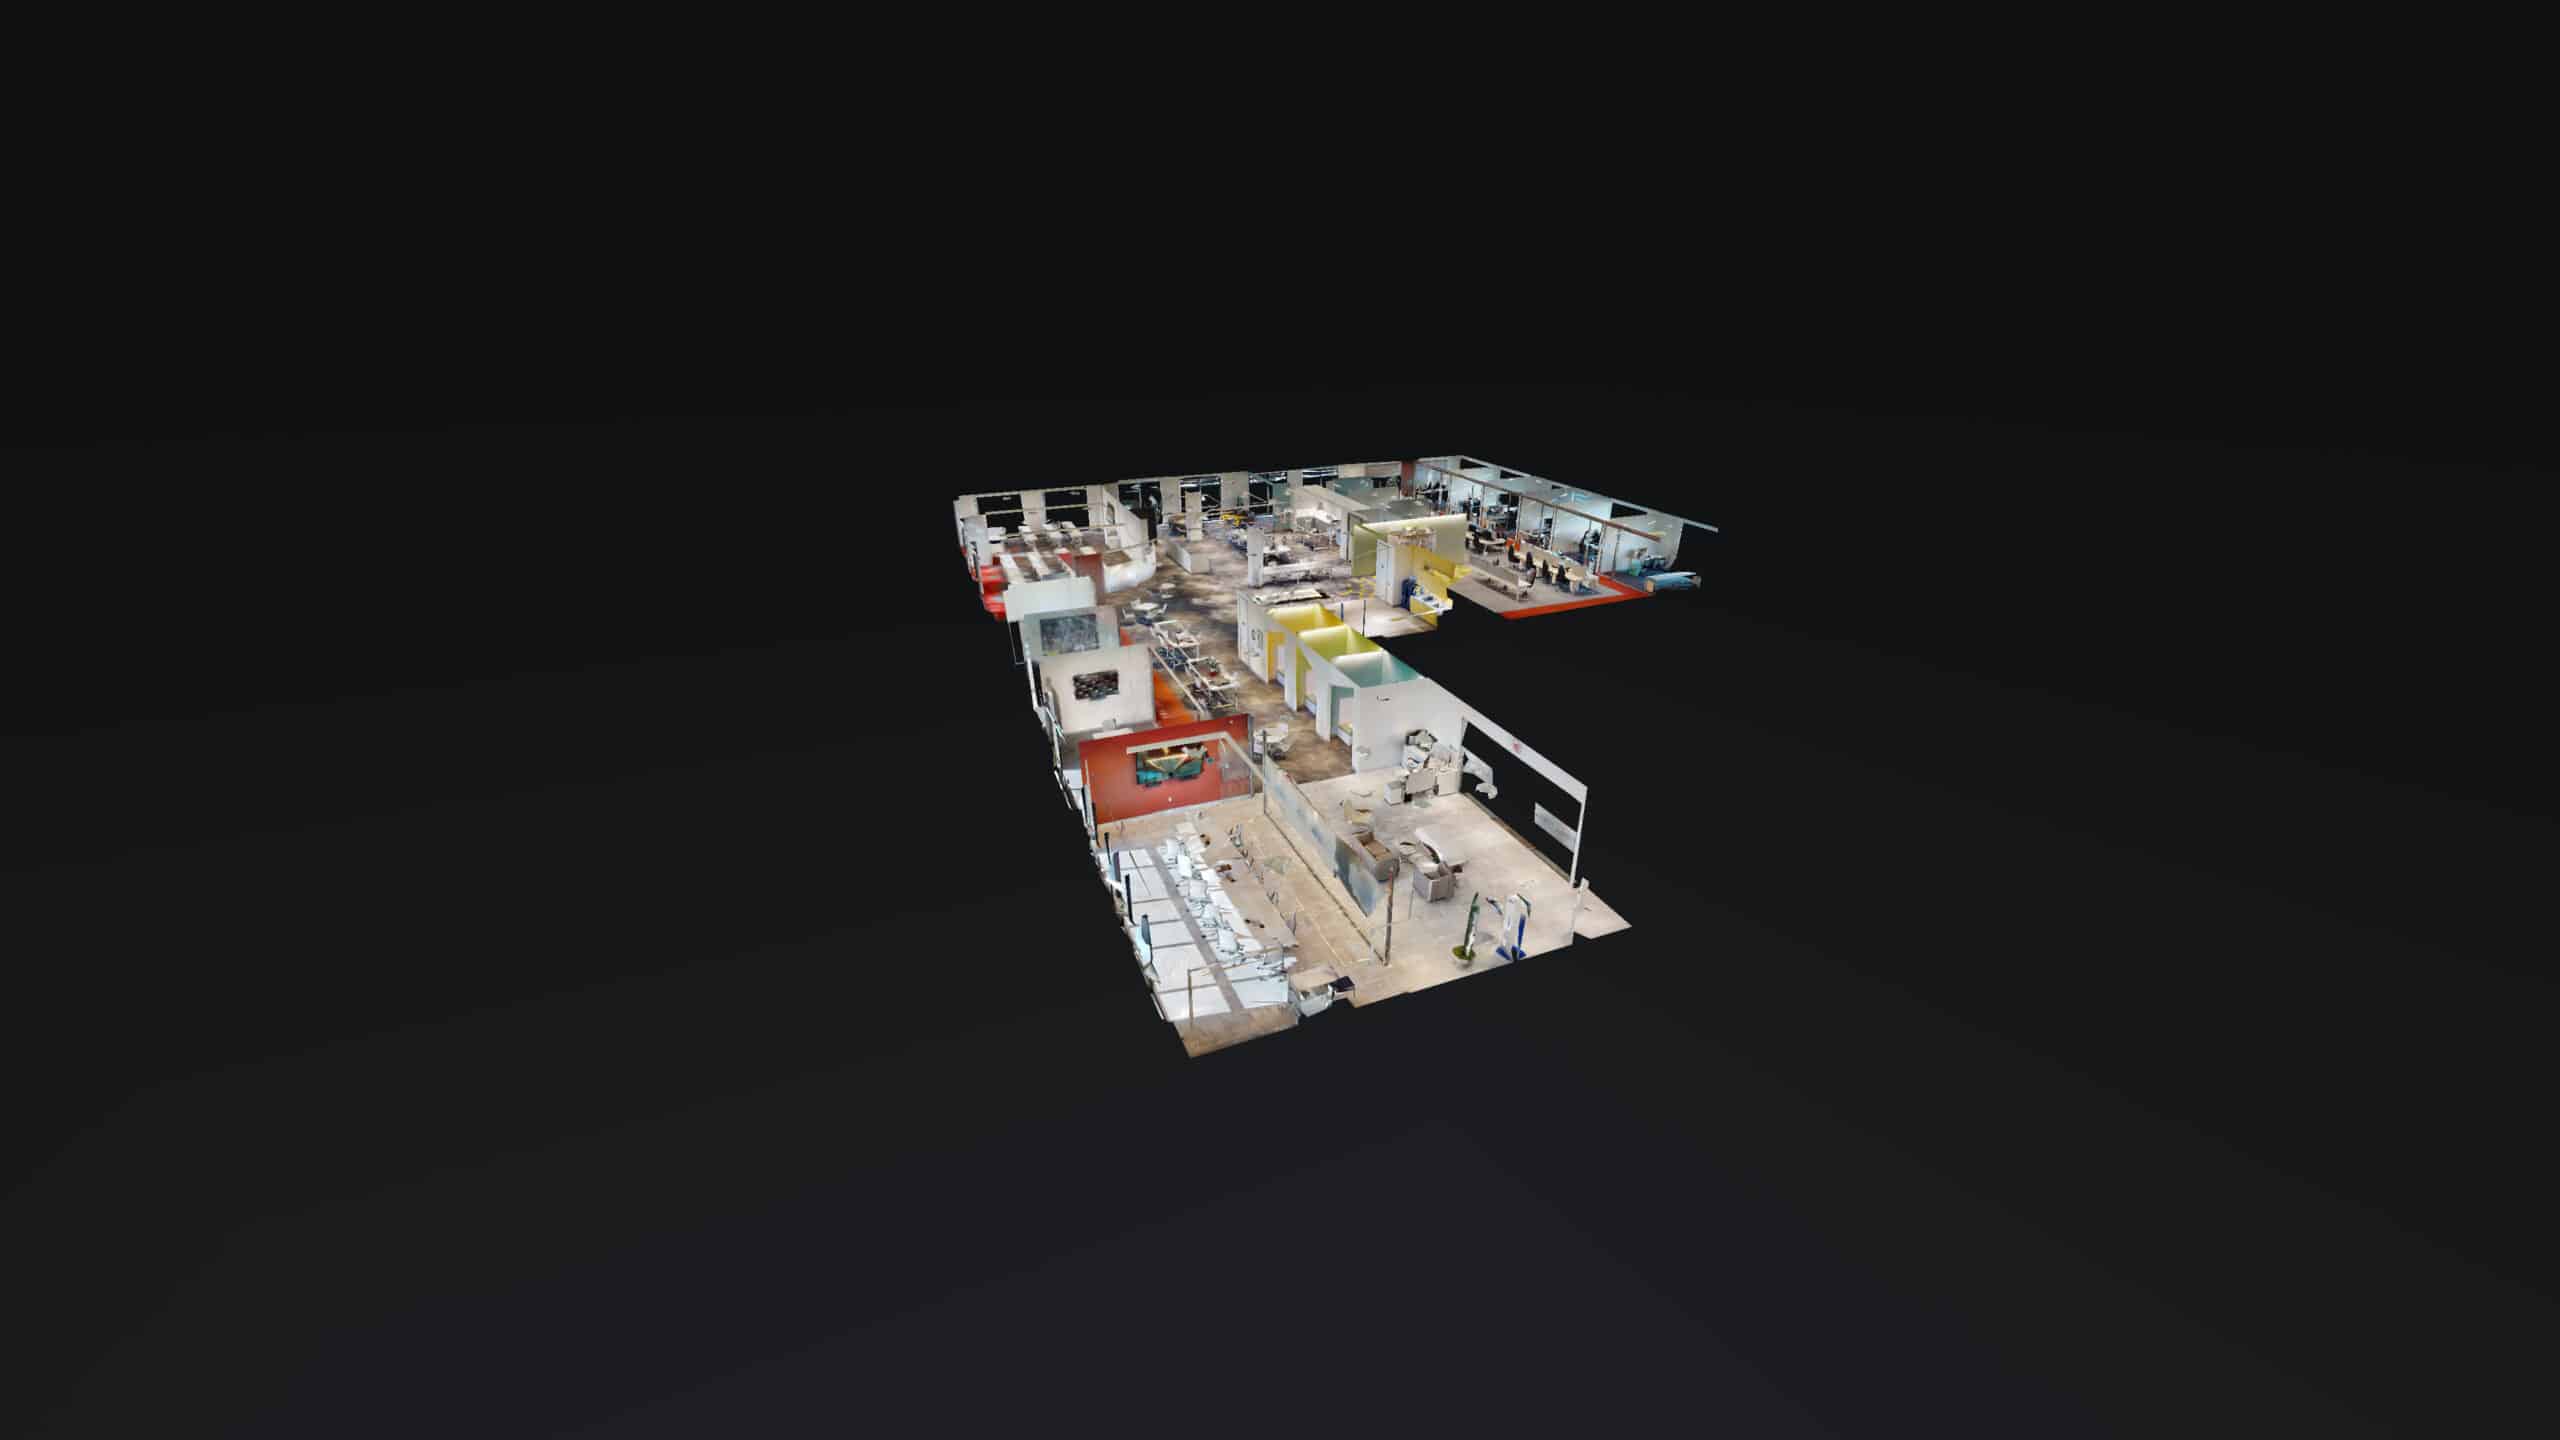
A Matterport scan adds a dynamic Las Vegas 3D Virtual Tour to many different platforms for potential buyers to visit a property. These Matterport house tours have been shown sell houses faster.
Because of the way we have our system set up, a scan will automatically post to Homes.com and Realtor.com.
When a scan is completed we provide the agent/broker with a branded and unbranded link that can easily be added to the MLS.
We also supply a bit of code called “embed code” – this code allows an agent/broker to add the Matterport Virtual Tour DIRECTLY onto their website. Unfortunately, this also means that the agent or broker will need to add this code onto their website, which can be scary, and if done improperly can blow up the website.
If Full House Web Marketing does the scan we can add the code to the website for you and it is a service we offer to anyone who has a scan and needs help. Just Contact Us, and we will hook it up.
BUT if you have a WordPress website, it’s pretty easy to do. This quick tutorial will show you the steps to add a Matterport 3D scan tour to your WordPress website.
A couple of quick notes. This tutorial assumes that you are using “out of the box” WordPress, and not a theme builder. We’ll post a tutorial for how you can do this with Elementor, Beaver Builder, Divi, etc. in the future. If you’re rocking the standard WordPress deploy, this tutorial is for you.
How to add a Matterport Scan to a WordPress Website
7 Easy Steps – How to add a Matterport 3D Virtual Tour to a WordPress Website
Total Time: 30 minutes
Create a New Post

Click “New Post” from your WordPress Dashboard. You can also do this as a page with the same result.
Name the Post/Page

Name the post or page what you want it to be called. The property name would be a good idea.
Create an HTML Block

Click the little plus symbol and search for “HTML”. Once you see the “Custom HTML” click on that to create the block.
Add the Embed Code to the Block

Cut and paste the embed code directly into this block. Do not add anything or edit anything. Your Matterport Scanner person should send you this code in a text file.
Preview the Post

Click “Save Draft” and then click to Preview the post.
Check the Post Before Publishing

It’s always a good idea to preview before publishing to make sure that the embed code isn’t corrupted in any way. This image shows what you should be seeing.
Add Other Blocks and Then Publish
If you want to add some descriptive text, just head back to the WordPress editor and type the text in a new block either above or below the embed code.
We hope these steps on How to add a Matterport Scan to a WordPress Website helped you to get that beautiful Matterport 3D Virtual Tour scan added to your website.
Again…. even if we didn’t do your scan, please feel free to contact us. We will be happy to help you in getting the scan added to your website.

Remember that a Matterport Scan will get you more listings, and make your current listings STAND OUT above all other listings on Realtor.com, Homes.com and the MLS.
Do you want to sell more houses? Get a Matterport Scan!
Today!